Setting up OpenNIC on macOS
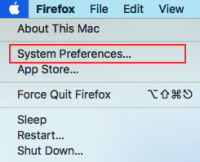
- Click the Apple Menu and select System Preferences
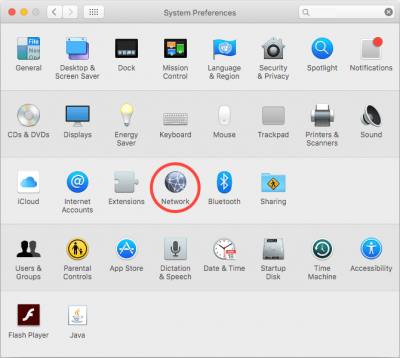
- Choose the Network panel item
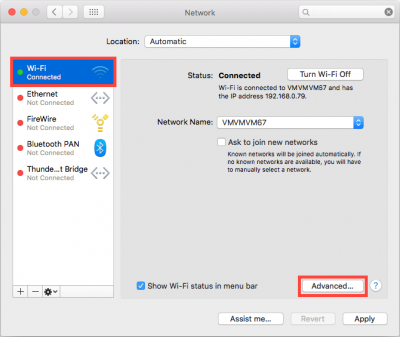
- Select your network interface from the left side (e.g. “Wi-Fi” or “Ethernet”), then click the Advanced button in the lower right corner of the window
- Choose the DNS tab at the top of the screen
- To edit an existing DNS server, double click on the DNS address you wish to change
- To remove a DNS server, select a DNS address and then click either the minus [-] button or hit the delete key
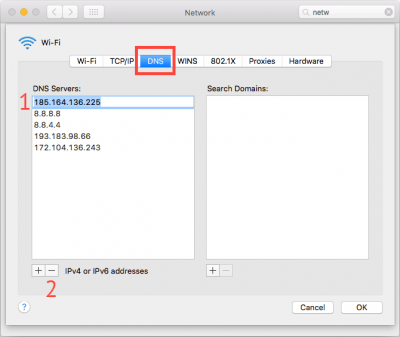
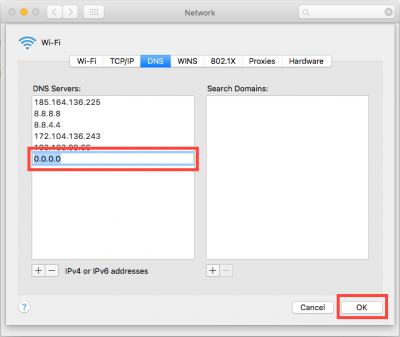
- To add a new DNS server, click plus [+] button, and enter the DNS address. Once you finished making changes to the DNS settings, click the OK button
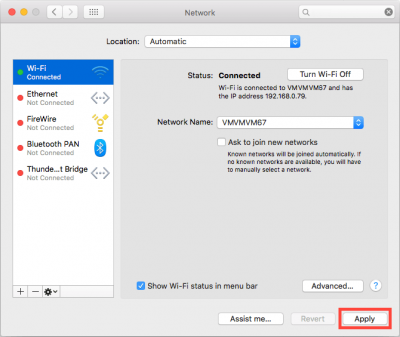
- Now click on Apply for the DNS changes to take effect.