DigitalOcean Droplet Metadata Setup
This is an incredibly simple way to create Tier 2 servers on DigitalOcean automatically, en masse, in one minute, no SSH immediately required.
Short Version
If you know what you're doing, use this User Data when creating an Ubuntu 16.04 Droplet:
#cloud-config
package_update: true
packages:
  - bind9
manage-resolv-conf: true
resolv_conf:
  nameservers:
    - '127.0.0.1'
    - '138.197.25.214'
    - '185.121.177.177'
runcmd:
    - wget -O /etc/bind/srvzone https://gist.githubusercontent.com/JonahAragon/e13995d17404b4d5f58df44ef3953c96/raw/
    - chmod +x /etc/bind/srvzone
    - /bin/bash /etc/bind/srvzone
    - sed -i '$a include "/etc/bind/named.conf.opennic";' /etc/bind/named.conf
    - systemctl restart bind9
Long Version (Full Installation Details)
Assuming you already have a DigitalOcean account with billing configured, you can create a Droplet with the following configuration:
Distributions (Operating System): Ubuntu 16.04.2 x64 – this is the only OS this has been tested on, and is the default. Use others at your own risk.
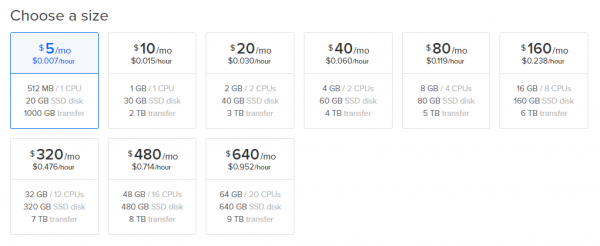
Size: Any pricing option will do for most servers, as BIND isn't resource intensive. Start with $5/mo, you can always upgrade in the future.
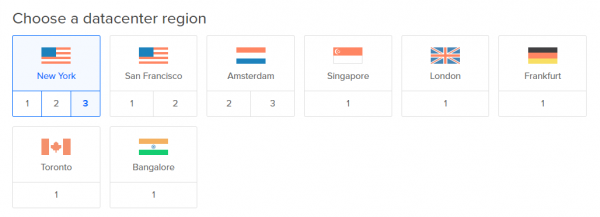
Datacenter Region: Choose the datacenter with the lowest latency to either yourself or the people you intend to use the servers. Check out Cloudharmony's latency test here as a good way to test every DigitalOcean location from yourself, lowest latency (in ms) is better.
Additional Options: Check the following: IPv6, User data, Monitoring. You can also check Backups, but this isn't as necessary for a DNS-only server with little important data, and will cost $1/mo extra on a $5/mo server.
In the User data box, enter the following:
#cloud-config
package_update: true
packages:
  - bind9
manage-resolv-conf: true
resolv_conf:
  nameservers:
    - '127.0.0.1'
    - '138.197.25.214'
    - '185.121.177.177'
runcmd:
    - wget -O /etc/bind/srvzone https://gist.githubusercontent.com/JonahAragon/e13995d17404b4d5f58df44ef3953c96/raw/
    - chmod +x /etc/bind/srvzone
    - /bin/bash /etc/bind/srvzone
    - sed -i '$a include "/etc/bind/named.conf.opennic";' /etc/bind/named.conf
    - systemctl restart bind9
SSH Keys: Select your SSH key from the list. If you don't have an SSH key, create one and add it. SSH keys are much more secure in comparison to normal passwords.
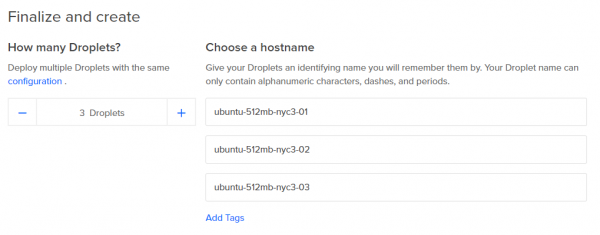
Number of Droplets: This is the number of servers you want to create with the above configuration. If you're new to operating a Tier 2 server you can keep this at 1 Droplet. The above script is infinitely scalable however, so you can theoretically create as many servers as you'd like automatically. Hostname: You can keep this as the default, it doesn't really matter for this purpose.
Press the green Create button and your server will start! Wait a few minutes for everything to configure correctly, and you should have a working Tier 2 Server, congratulations!
Testing Your New Server
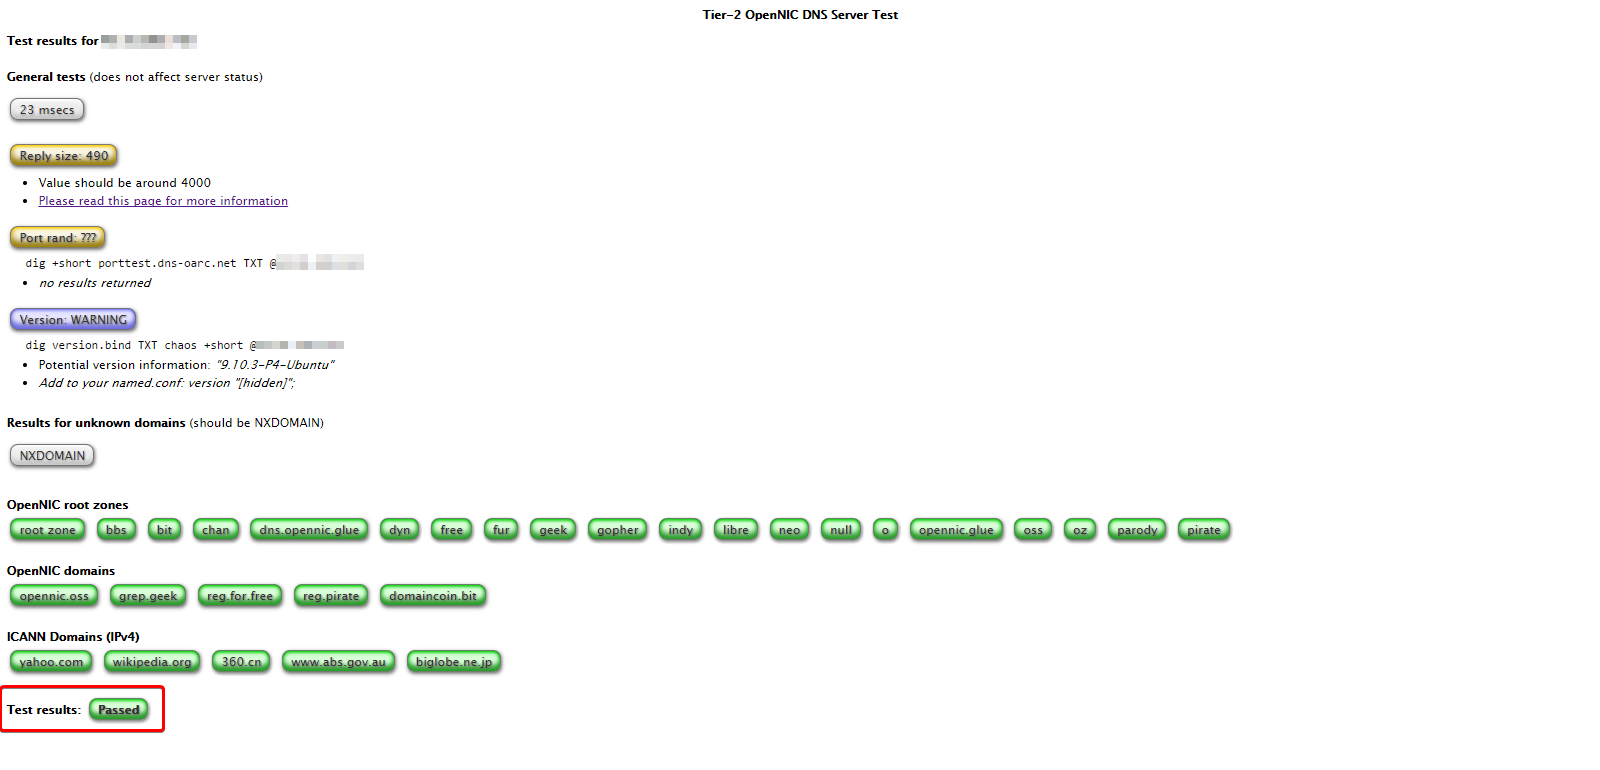
Visit http://report.opennicproject.org/t2log/t2.php and enter your Droplet's IP address. Everything should function normally and the test will pass:
That's it! Now that your server is created you can add it to our public server list! (Registration required)


